How to connect to CMU-SECURE wireless network on a Mac.
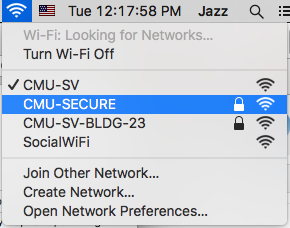
1. Start by selecting CMU-SECURE in wireless drop-down menu on your Mac.
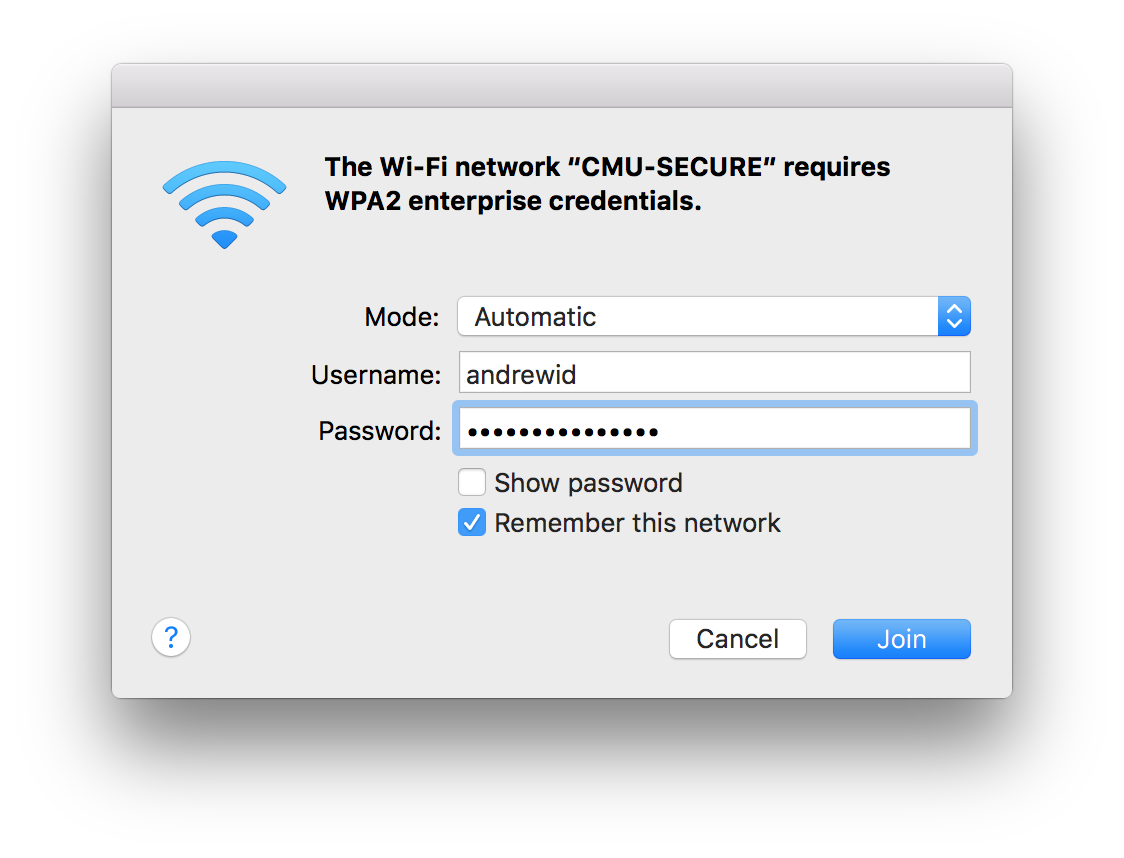
2. Authentication dialog will follow. Enter your AndrewID in Username field and your Andrew ID password in the Password field.
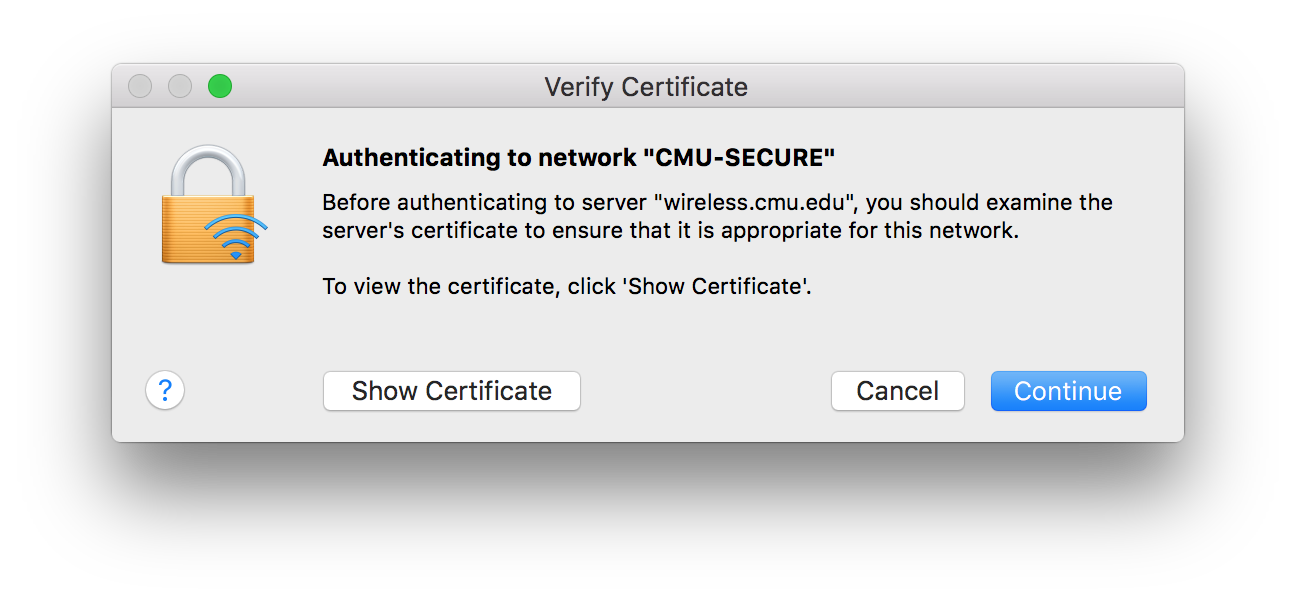
3. “Verify Certificate” dialog window will follow. Choose “Continue” to proceed. (If you wish to verify that certificate is, in fact, valid, click on Show Certificate to reveal it).
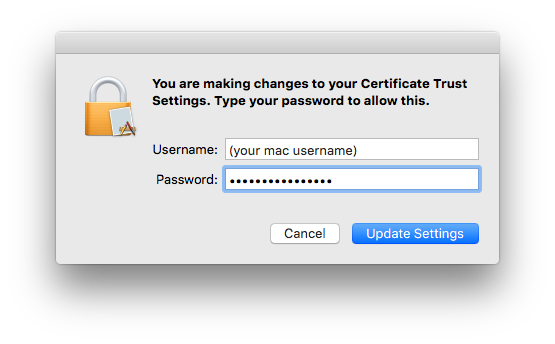
4. Your Mac may ask you to enter your local username and password to add the newly downloaded certificate. After updating this setting, your computer should be connected to CMU-SECURE wireless network.
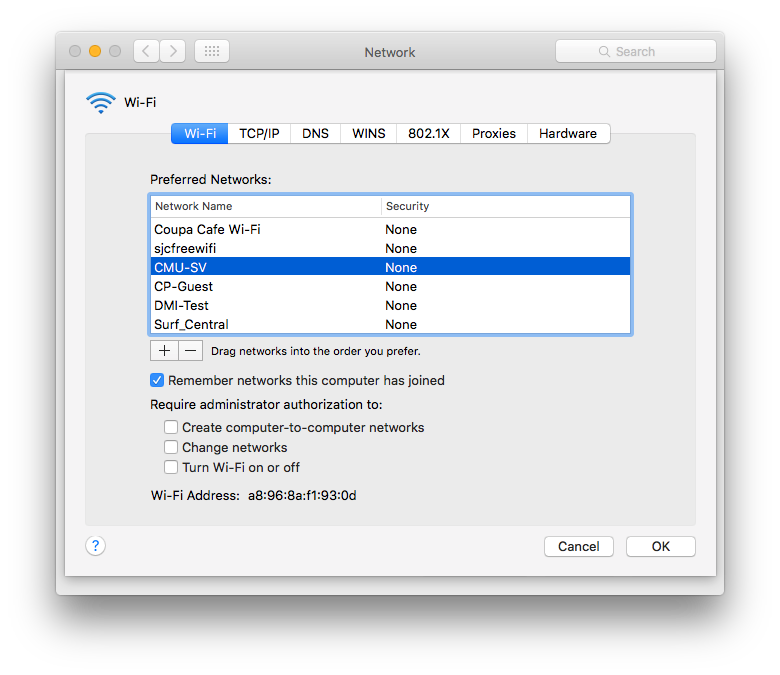
To ensure that you get connected to CMU-SECURE next time you use your computer at CMU-SV as opposed to any other network, please go ahead and remove other networks from a list of a preferred network.
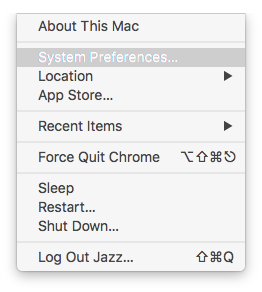
5. Go to Apple Menu on your mac (upper left corner) and choose System Preferences.
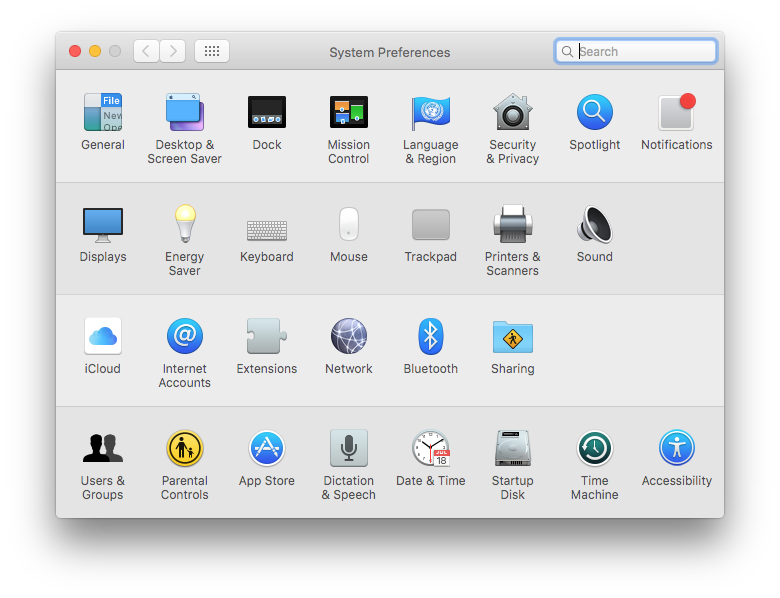
6. Click on Network to open network preferences.
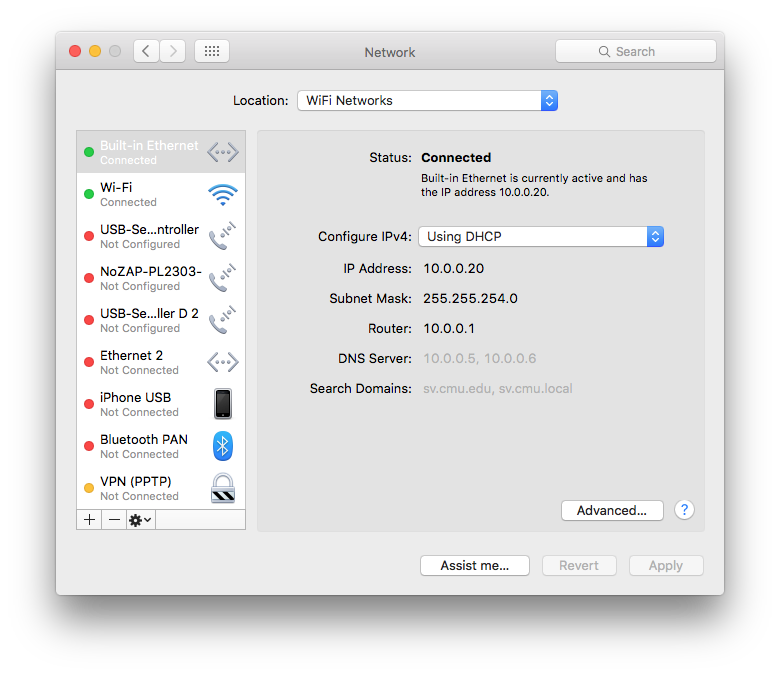
7. When in network preferences, click Advanced… in the lower right corner.
8. In the window below all “Preferred Networks” are listed, or simply all networks your computer connected to. Every time you open your computer, it goes down this list to identify any of the networks that are available. If multiple network names from the list below are present at any given location, network, which is higher up on this list will be selected. So you might want to rearrange this order and put CMU-SECURE at the top of the list. And while you’re there, go ahead and remove legacy network names by selecting it and then clicking on the button with the minus sign.